
Last updated November 21, 2026
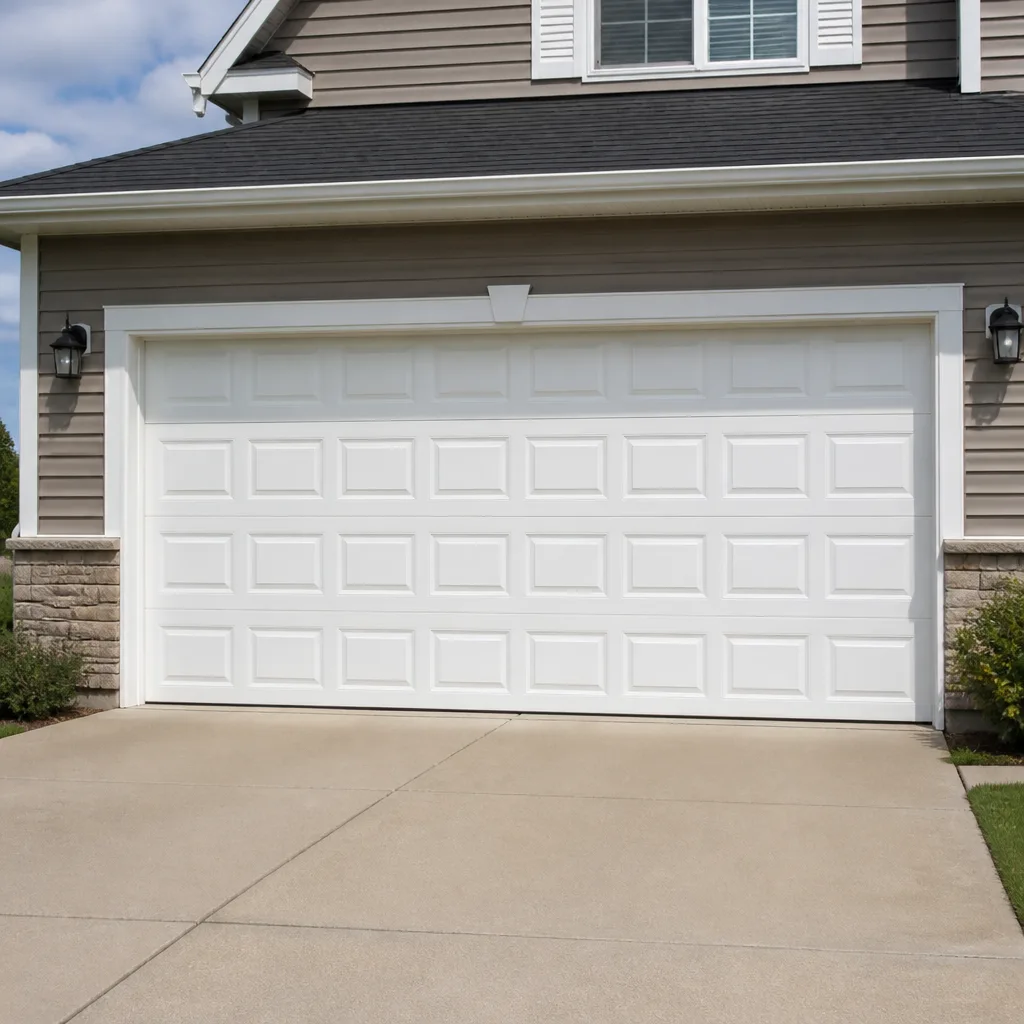 Raised-panel steel
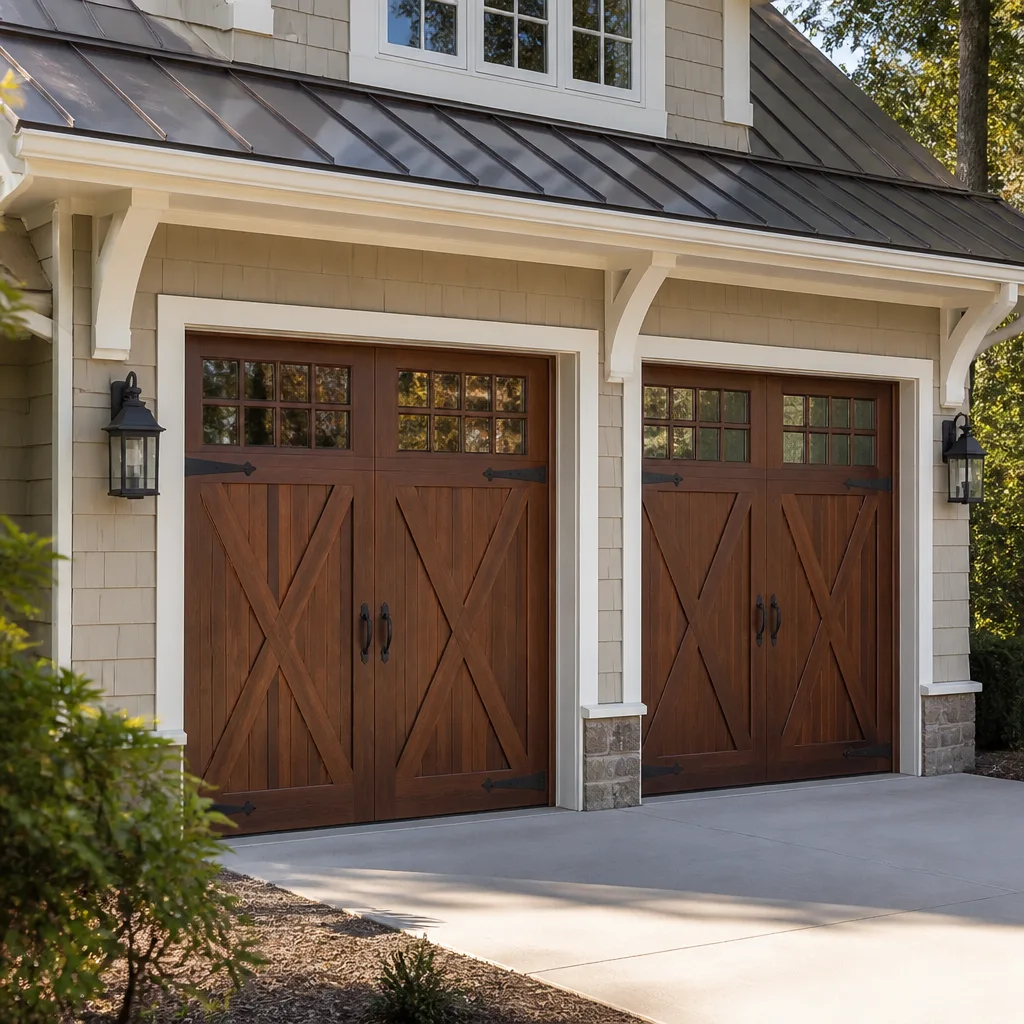 Carriage house
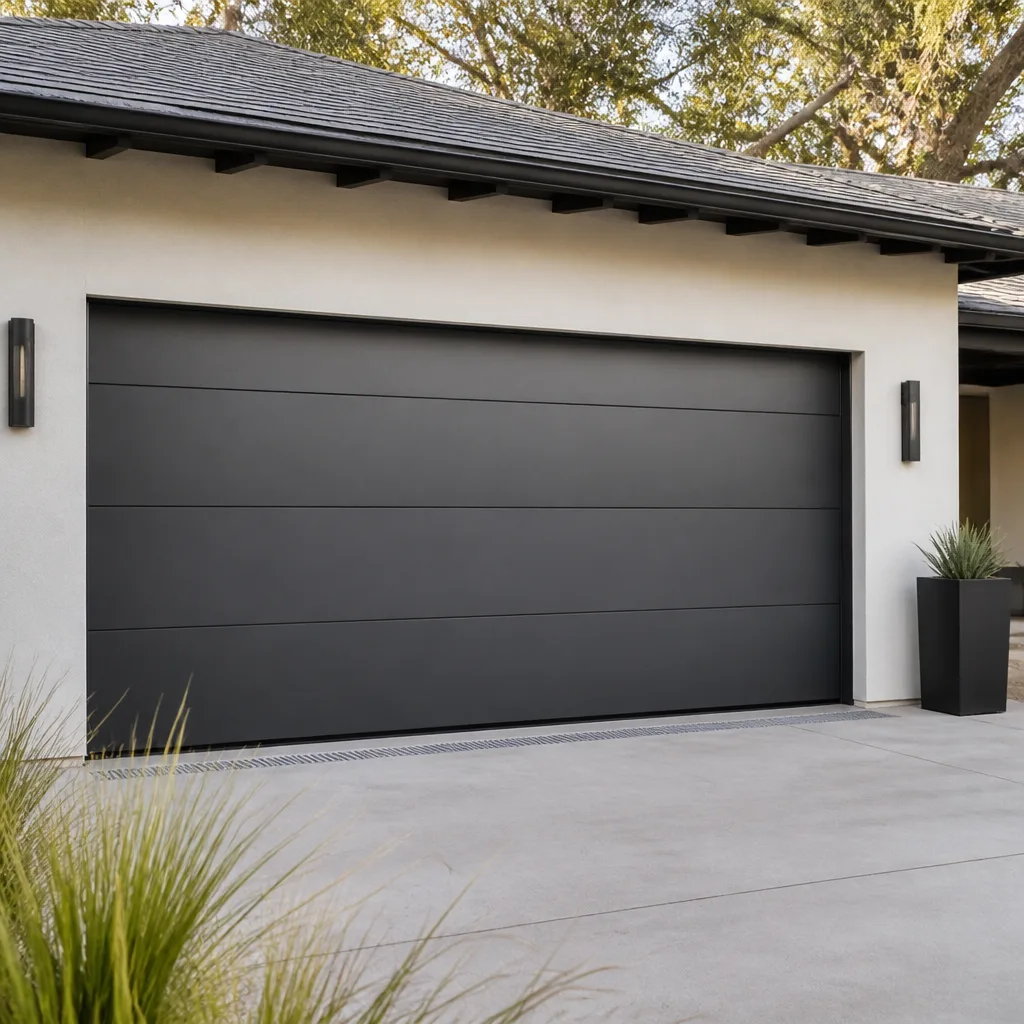 Modern flush
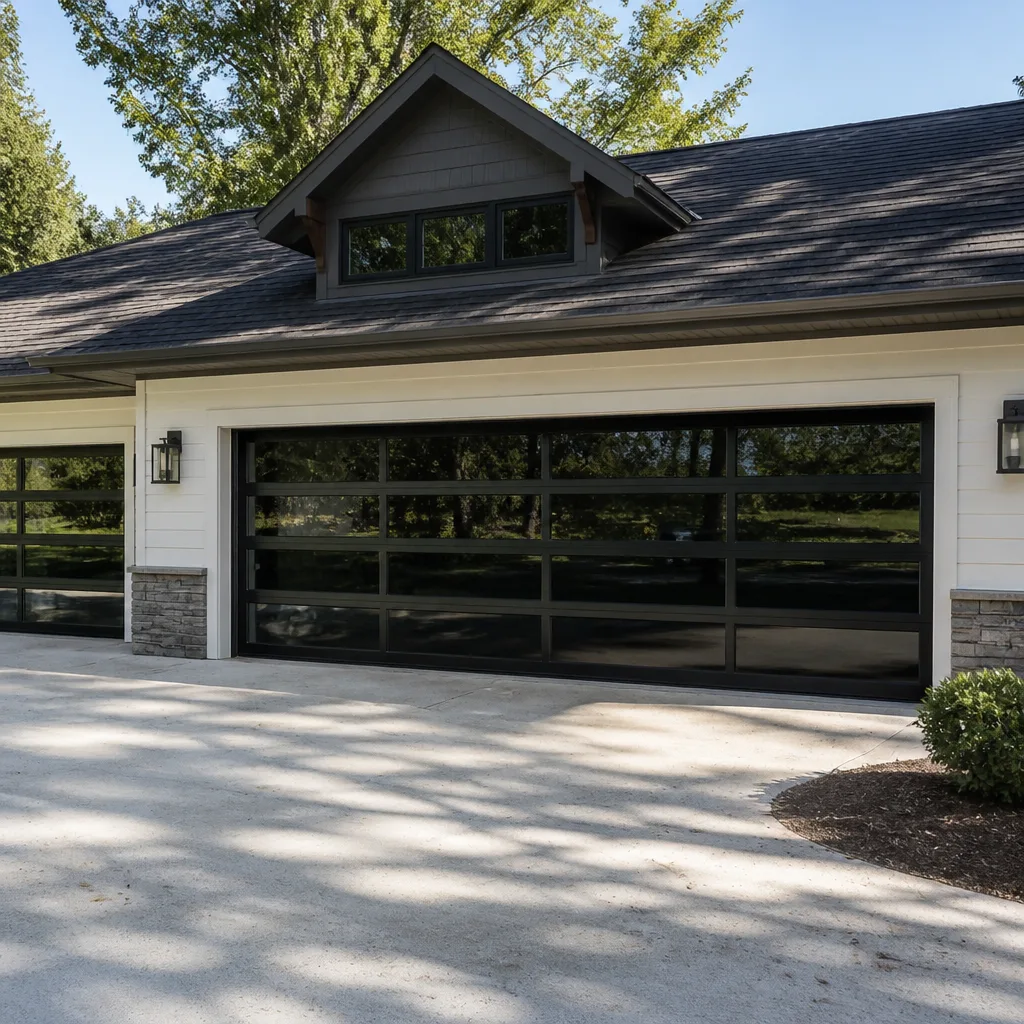 Full-view glass
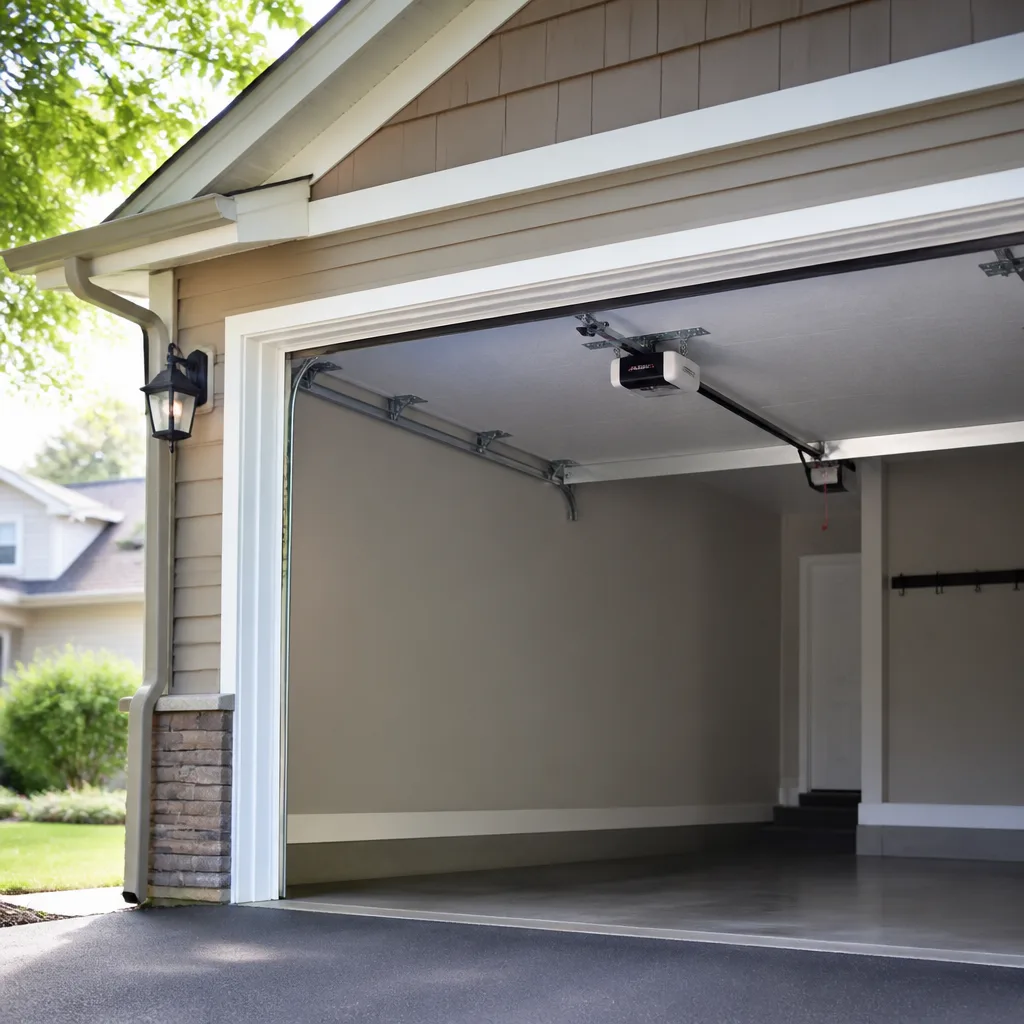 LiftMaster openers
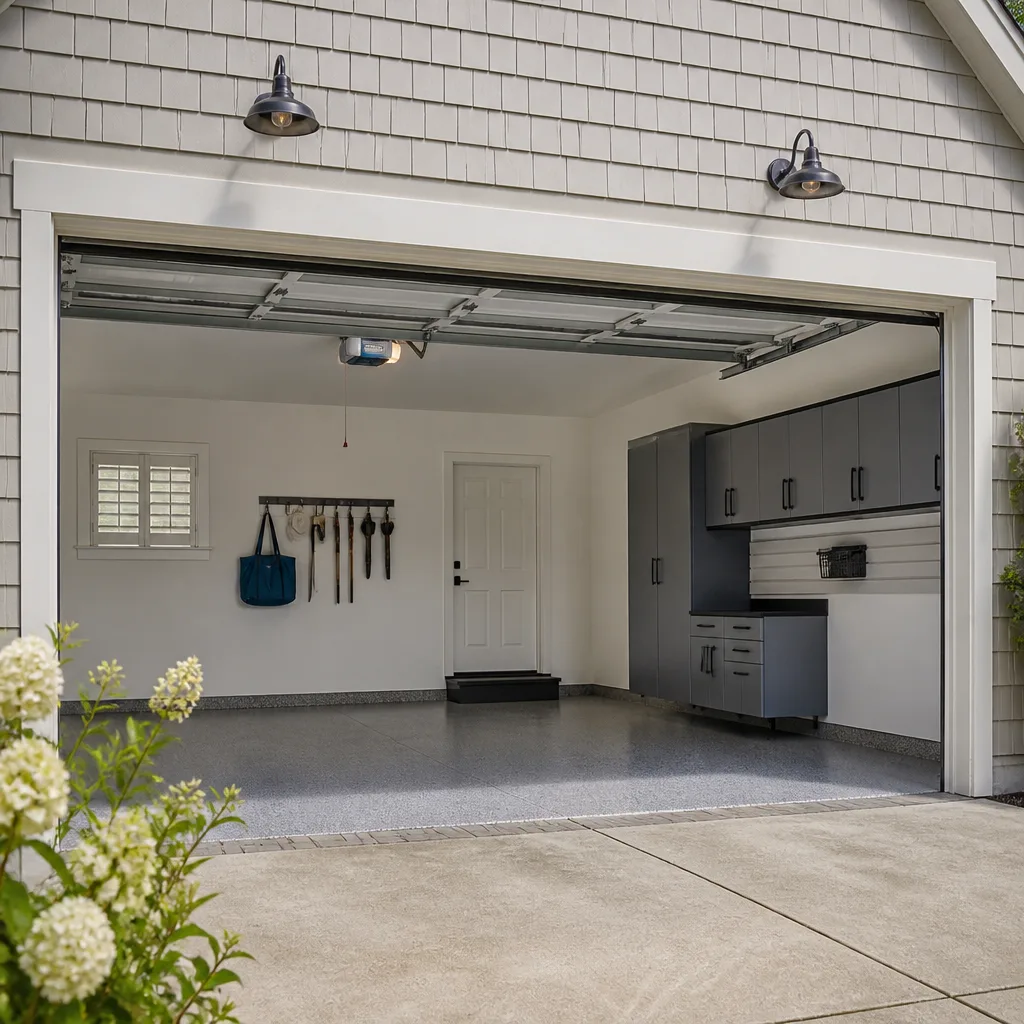 Chamberlain openers
Full 25-point door and opener safety check with every visit - springs, cables, rollers, tracks, and your LiftMaster or Chamberlain opener included
You get a price before we start. It does not change when the pro arrives.
Get your free estimateDIY vs Professional Garage Door: The Borough Park Homeowner’s Decision Guide
Most homeowners treat the DIY question as a test of confidence. If you’ve rewired a light switch or replaced a faucet, you figure a garage door is just a bigger version of the same work. That reasoning breaks down in Borough Park for one specific reason: torsion springs store enough mechanical energy to cause serious injury in under a second, and that’s not a liability disclaimer, it’s physics. The DIY calculation for garage doors isn’t about skill level at all. It’s about which tasks carry real physical risk and which are genuinely safe to handle. This guide draws that line task by task, explains what legitimate DIY looks like, and shows you where a Borough Park call to a specialist saves you money instead of costing it.
Quick Answer
Weatherstripping, lubrication, sensor alignment, remote programming, and visual inspections are all safe for a homeowner to do. Spring, cable, and torsion work is not, no matter how handy you are, because those parts are under extreme tension and can cause serious injury when they release unexpectedly. Panel damage, track misalignment, opener gear failures, and full door replacements are specialist work, though some smaller adjustments fall in a gray zone between the two.
Styles & brands we work with
- Raised-panel steel
- Carriage house
- Modern flush
- Full-view glass
- LiftMaster openers
- Chamberlain openers
Table of Contents
- Where the Safety Line Falls for Garage Door Work
- Safe DIY: The Five Tasks You Can Handle
- The Gray Zone: Tasks That Look Easy But Aren’t
- Never DIY: Spring, Cable, and Torsion Work
- The Hidden Costs of a Failed DIY Attempt in Borough Park
- How to Use YouTube Tutorials Responsibly
- NYC Liability, Insurance, and Attached Structures
- When to Call a Professional
Where the Safety Line Falls for Garage Door Work
Garage doors split into two categories the moment you look at how the door gets its lift. Extension springs run along the horizontal tracks and stretch when the door closes. Torsion springs mount above the door on a steel shaft and twist. Both store energy, and that stored energy is released when a spring breaks or a cable lets go. The difference between DIY and pro isn’t whether you understand the mechanism; it’s whether you can safely control that energy before it’s released.
Everything else on a door hanging off that system is fair game for a homeowner with basic tools. Weatherseals, hinges, rollers, sensors, and opener settings all operate on low voltage or mechanical fastening that doesn’t involve stored tension. Track work sits in the middle because a misaligned track can send a door off its rails, and a fallen door can damage the panels behind it.
In our experience across Borough Park, the calls we get after a failed DIY attempt usually fall into one pattern: a homeowner bought the right part, followed a video, and then ran into a situation the video didn’t cover, like a stripped set screw on a Wayne Dalton roller bracket or an opener that needed a specific limit-setting procedure. That’s the moment the job has already cost more than if it had started with a professional.
The safety line also depends on the door’s age and construction. Older wood-panel doors with weakened springs and rusted cables need more caution than a newer steel door. A garage in a Borough Park row of attached homes shares a wall with the neighbor, so a door coming off its track doesn’t just hit the ground. It can strike the shared wall framing or the vehicle parked inside.
Safe DIY: The Five Tasks You Can Handle
These are the jobs worth doing yourself. Each involves low risk and tools you likely already own.
- Weatherstripping and bottom seals. The rubber strip along the bottom of the door and the seals around the sides and top wear out and allow drafts, water, and pests to get in. Replacing a bottom seal means raising the door, removing the old strip from the retainer, sliding in a new one, and trimming the ends. This is a homeowner-friendly job that takes under an hour with a utility knife and a screwdriver.
- Lubrication. Springs should be wiped with a small amount of garage door lubricant, but the torsion spring section stays untouched while the door is under tension. That means no. Wait for the professional. Hinges, rollers, and the opener rail can be lubricated with a silicone-based spray, but never while the door is in motion. Two or three applications a year keeps the door quieter and slows roller wear.
- Safety sensor alignment. The two small lenses at the bottom of the tracks send a light beam across the opening. If the door reverses for no reason or won’t close at all, the sensors are usually the culprit. Wipe the lenses clean and check that the small indicator lights on both units are solid, not blinking. If a sensor bracket has been bumped, straighten it. The owner’s manual for your LiftMaster or Chamberlain opener spells out the exact alignment procedure.
- Remote programming. Adding or replacing a remote is a matter of holding the “learn” or “program” button on the opener body and pressing your remote within the window. Craftsman and Genie units vary in button names but the procedure is the same. This is the single most common DIY task and the least likely to cause damage.
- Visual inspection. Once a month, with the door full open, look at the springs, cable wear, and roller condition without touching any component under tension. A broken spring will look like a gap in the coil. A worn cable shows fraying near the drum. Note anything unusual and report it when you call for service, so the technician arrives with the right part.
None of these tasks require a professional, and none carry a meaningful risk of injury if you follow the manufacturer’s instructions. If you’re comfortable with a screwdriver, they’re worth doing in Borough Park to keep a door working through a long, cold winter and a hot, humid summer.
The Gray Zone: Tasks That Look Easy But Aren’t
Some jobs technically fall within reach of a homeowner, but they carry real risk or have a high probability of a follow-on problem. Treat these as professional work unless you have direct experience with the exact model.
- Roller replacement. A worn roller can be replaced at the hinge with the door in the down position, but reaching rollers on the upper panels means raising the door and reaching above your head. A door can shift if a hinge is loose, and a dropped roller or hinge pin can cause the door to jam mid-travel. This is one area where a professional’s half-hour job becomes a homeowner’s weekend project.
- Track adjustment. A track that’s bent or slipping out of its bracket needs to be realigned so the rollers travel freely. Doing it without knowing the correct gap can cause the door to bind, and a binding door puts strain on the opener motor and the springs. A bent track is usually the result of a door going up while blocked by a bicycle or a bag of winter de-icing supplies.
- Panel replacement on a multi-panel door. Matching a new panel to an existing Wayne Dalton or Raynor door requires knowing the panel style, width, and color lot. Ordering the wrong one leaves a gap or a mismatch. More importantly, replacing a panel means partially disassembling the door while it’s under spring tension.
- Opener chain or belt re-tensioning. A loose chain is noisy and a tight one strains the opener motor. Tuning it requires knowing the rail’s and unit’s spec for deflection. A homeowner who over-tightens can crack the rail carriage or strip the drive gear. If the opener is a Genie or Chamberlain with a belt drive, the tension settings differ enough that we usually recommend confirming the exact model first.
- Photo-eye replacement. The sensor itself is a simple swap, but the wiring often runs through the wall and connects at the opener head. A miswired sensor can cause intermittent reversal that mimics a much bigger problem.
These tasks aren’t impossible, but they’re the ones that produce a second phone call. In Borough Park, where the garage often shares a wall with a neighboring home, a damaged panel or a door that jumps its track can affect more than just your own property.
Never DIY: Spring, Cable, and Torsion Work
This is the section where we’re blunt: do not touch springs or cables. The energy stored in a torsion spring on a standard residential door is comparable to the energy in a small engine’s starter system, and it’s released in a fraction of a second. If you’re not sure what that means in practice, consider the fact that garage door springs are one of the few home components that can cause a hand or arm injury from a single wrong move.
Here’s why each component is off-limits:
- Torsion springs. Mounted on a steel shaft above the door, these are under hundreds of pounds of tension. Winding or unwinding one requires a pair of winding bars matched to the spring’s size, and the bars must be held at the right angle to keep the spring from spinning free. If a bar slips, the spring releases its full energy against whatever is in its path.
- Extension springs. Usually mounted along the horizontal track, these stretch and retract. They’re less dangerous than torsion springs when properly cabled, but a spring that’s lost its safety cable can fly across the garage when it breaks. If yours are uncabled, that’s a specialist job right there.
- Cables. The cables run from the bottom brackets to the drums on the torsion shaft. They’re under tension whenever the door is closed, and they hold the door’s weight. A cable that snaps or is improperly released can whip with enough force to cut or strike. Replacing a cable means relieving spring tension first, which brings you right back to the torsion spring problem.
- Torsion shafts and drums. The shaft assembly holds the springs and the cable drums. Any work here requires the door’s weight to be carried on a temporary prop and the springs fully unwound. This is professional equipment and professional technique, and mistakes can drop a 200-pound door.
How Spring Repair Actually Works
A professional spring replacement starts with relieving the door’s weight onto a set of winding bars and unwinding the spring slowly. From there, the spring is removed, matched by length, wire size, and inside diameter, and the new one is wound to the door’s specified number of turns. The technician then tests the door’s balance by hand with the opener disengaged. If the door drifts down or up on its own, the spring tension is wrong and needs adjustment. This is not a five-minute job; a matched pair on a typical Borough Park door takes time and specific tools. That’s exactly why we specialize in spring repair as a named service rather than treating it as one task among many.
If you want the full context on spring replacement costs and timelines, our guide to garage door repair covers what a repair visit looks like from start to finish. And if a spring has already failed and the door is stuck, that’s an urgent situation – we handle those through our main Garage Door Repair Borough Park page.
The Hidden Costs of a Failed DIY Attempt in Borough Park
A failed DIY repair almost never stays limited to the original problem. In Borough Park’s attached homes, where garages often share a wall or sit close to the neighboring structure, the consequences spread.
- Damage to the adjacent structure. A door that jumps its track or slams down can crack the shared wall’s plaster, damage the trim where the garage meets the house, or bend the door’s frame at the header. That’s a repair bill on top of the original problem.
- Voided warranties. Door manufacturers and opener manufacturers typically specify professional installation and service for warranty coverage on certain components. A homeowner-installed spring or a door that’s been off its tracks can void the manufacturer’s coverage on the door or opener. If you have a newer LiftMaster opener or a Raynor door, that’s a real cost.
- Damage to the vehicle. A door that won’t close leaves a car exposed, but a door that closes unevenly or reverses unpredictably can strike a vehicle during the repair attempt. The average car repair after a scratch or dent is more than any single garage door service call.
- Lost labor cost. Buying a tool set, winding bars, and replacement parts, plus a weekend of time, usually ends up costing more than the original service call, especially if the job then gets called in anyway.
- Safety risk to the next person. A partially repaired spring or a door left with a cable off its drum is a hazard for whoever handles it next, including a family member who uses the door before the pro shows up.
None of this is meant to discourage every DIY task. It’s meant to show why the cheap-looking job carries a hidden bill when it goes wrong. In a Borough Park row of houses, a garage door is a shared boundary as much as a private one.
How to Use YouTube Tutorials Responsibly
YouTube is a legitimate resource for understanding your garage door. The problem is that the platform doesn’t separate tutorials by risk level, so a video showing how to replace a bottom seal looks identical in format to a video showing how to wind a torsion spring. Use this rule: if the tutorial involves any part that’s under tension, close the tab.
Safe tutorial categories:
- Bottom seal and weatherstripping replacement.
- Lubrication points and schedule.
- Safety sensor cleaning and alignment.
- Remote pairing and keypad programming.
- Replacing a light bulb in an opener motor housing.
Categories to avoid entirely:
- Winding or unwinding a torsion spring.
- Replacing a spring, cable, or drum.
- Removing or reinstalling a complete door.
- Adjusting the counterbalance on any door.
- Cutting, drilling, or modifying a spring.
When you do use a video, watch the whole thing before touching the door, then watch it again while you work, and pause at each step. Skip videos that show a licensed-looking pro doing something at speed without explaining the safety setup. If a tutorial says “this is easy” but skips the part where the spring is unwound first, the video isn’t a tutorial; it’s a sketch. If you need help confirming which tutorial applies to your model, a quick call to a specialist is worth more than a risky attempt.
For brand-specific settings, the manufacturer’s own manual or a brand-certified professional is the better source. We’re factory-trained across LiftMaster, Chamberlain, Genie, Clopay, Amarr, Wayne Dalton, Craftsman, and Raynor doors and openers, which means we’ve seen where each brand’s tutorials drift from the actual spec.
NYC Liability, Insurance, and Attached Structures
Borough Park sits in a city that treats garage structures attached to a home differently from free-standing garages on a suburban lot. The practical question for homeowners is: if I do this work myself and something goes wrong, who bears the cost?
The answer depends on your insurance policy. Most homeowner policies cover accidental damage to the home and property inside it, but a claim involving a self-installed component that fails and causes injury to a household member or damage to a neighbor’s adjoining wall could be contested. Specific coverage questions go to your insurer, not to a garage door specialist, and we always say so. But there are two safe practices worth following regardless:
- Before any non-trivial garage door work on an attached structure, check with your insurer whether a claim would cover removal and replacement after a failure. That’s a phone call you make once, not per job.
- Keep a record of any professional service on the door (spring, cable, opener, or full replacement) with the date and what was done. If a failure happens later, that record puts the work in a category your insurer can evaluate.
Building code in New York City changes shape depending on the door type and whether the structure is attached to the home. Permit requirements for a full door replacement in an attached garage can vary, so the right move is to ask your building department before work begins. We don’t write the permit rules; we follow what the city requires, and our estimate for a full replacement typically states any permit steps so there are no surprises.
One more practical point: a door that’s been left with a poor seal, an uncapped spring, or a bent track in a shared-wall garage can affect the neighbor’s property. That’s not a reason to avoid the work, it’s a reason to get it done correctly the first time.
When to Call a Professional
Call a professional the moment any of the following is true: the spring is broken, the cable is off the drum, the door is stuck half-open, the door hit something and won’t close, the opener runs but the door doesn’t move, or you’ve replaced a panel and it won’t line up. Any of those situations carries the risk of damage or injury if handled without the right tools. For routine tune-ups, opener repair, or a full replacement, a scheduled visit is the straightforward path.
We’ve also found that same-day service answers a lot of practical questions: for a stuck or failed door, we can usually get someone out the same day, and our technicians are factory-trained across LiftMaster, Chamberlain, Genie, Clopay, Amarr, Wayne Dalton, Craftsman, and Raynor. We answer 24/7, and we offer fast dispatch from 7am to 7pm.
If you’re planning a new door or opener, we handle the measure, the model matching, and the installation through garage door installation. If your opener is the problem, our garage door opener repair page covers what to expect. Garage Door Repair Borough Park offers free estimates in Borough Park – call (888) 784-3292 and get a written price before any work begins.
See the difference
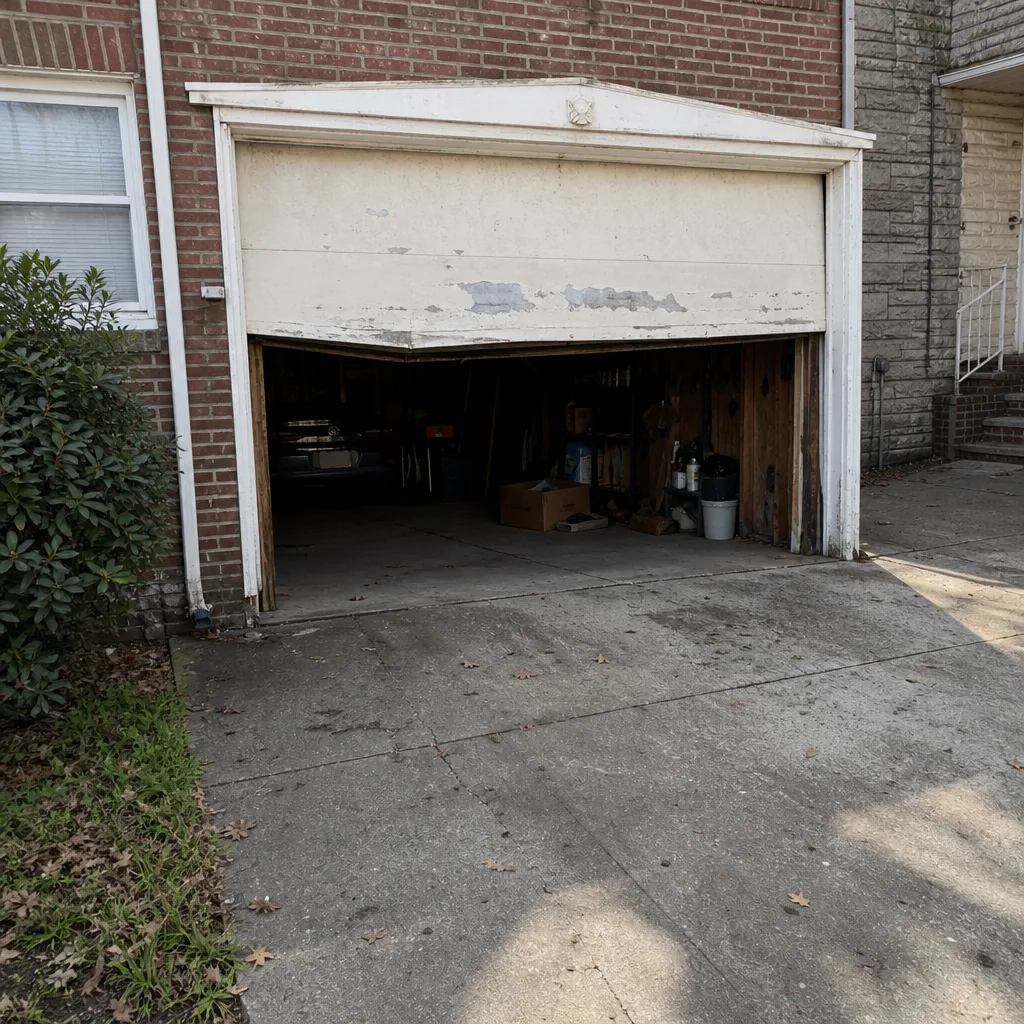 Before
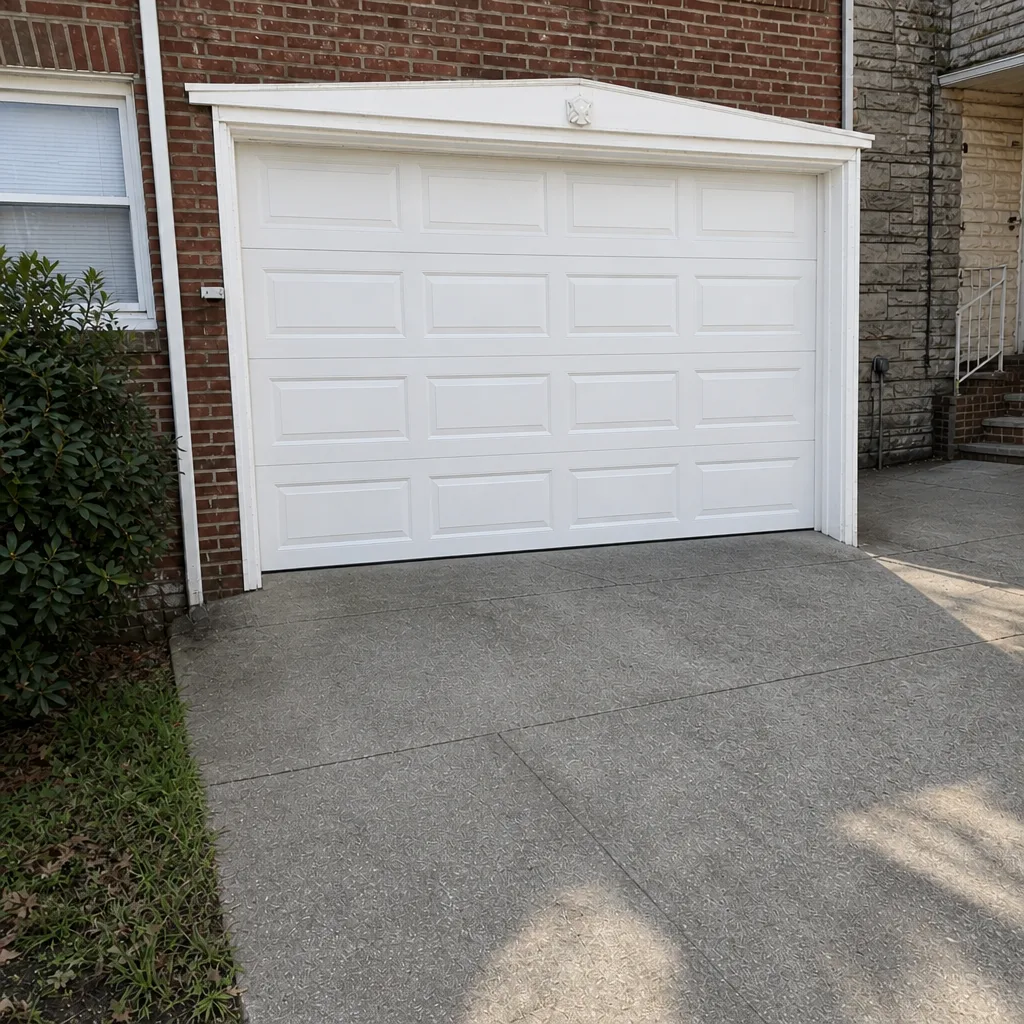 After
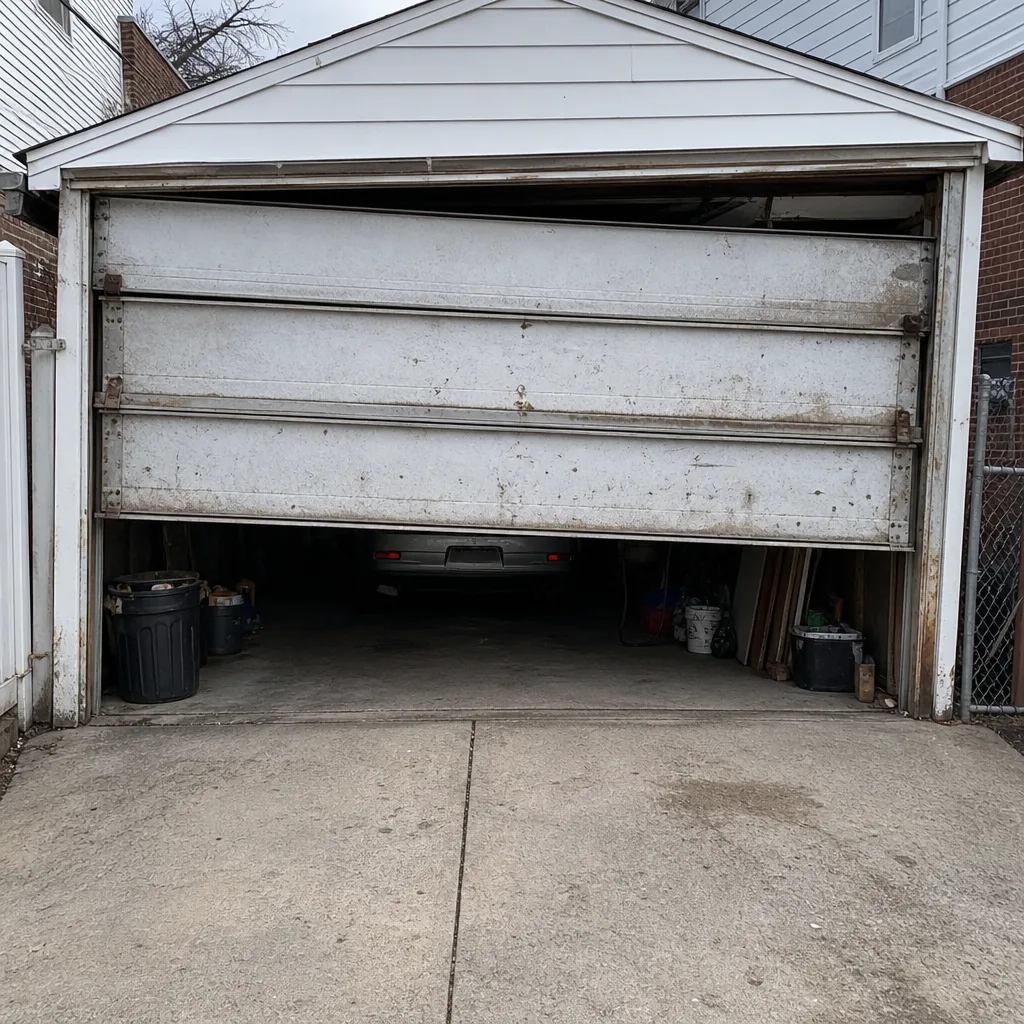 Before
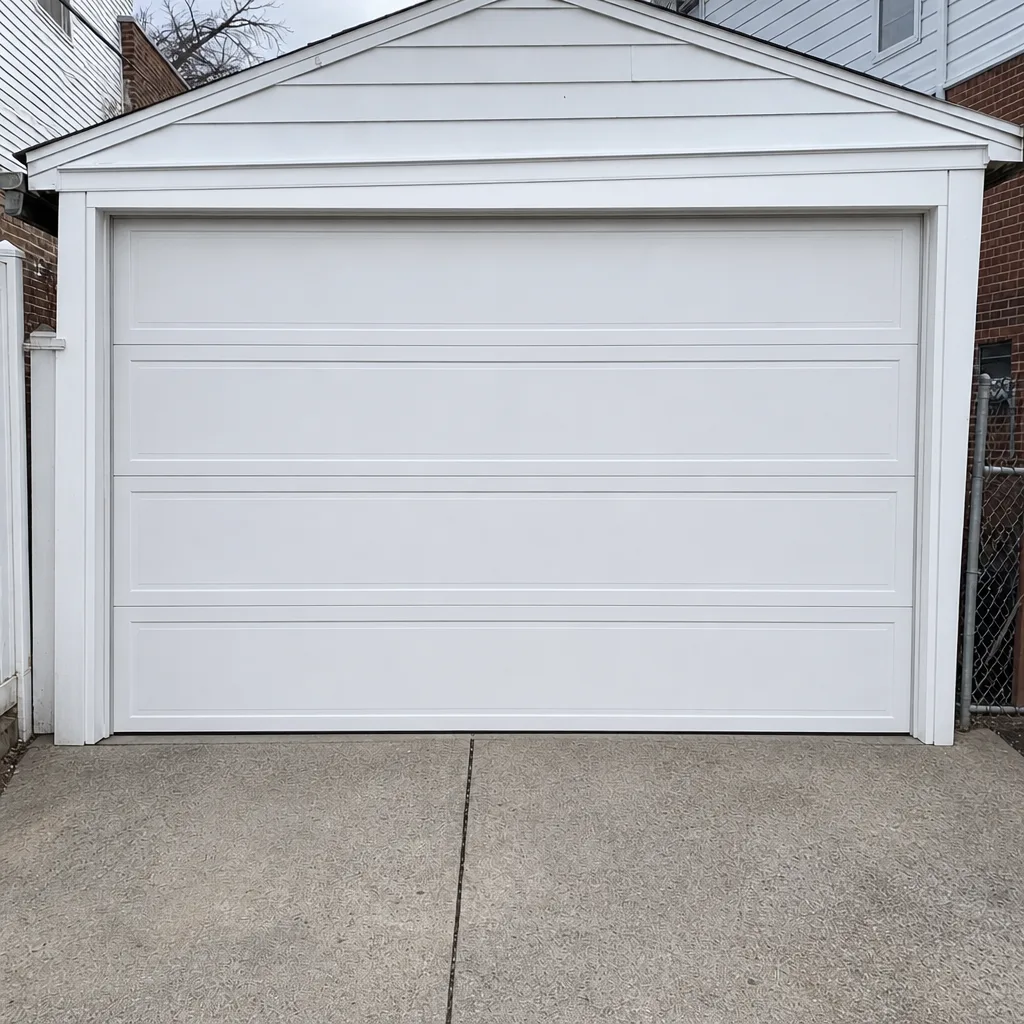 After
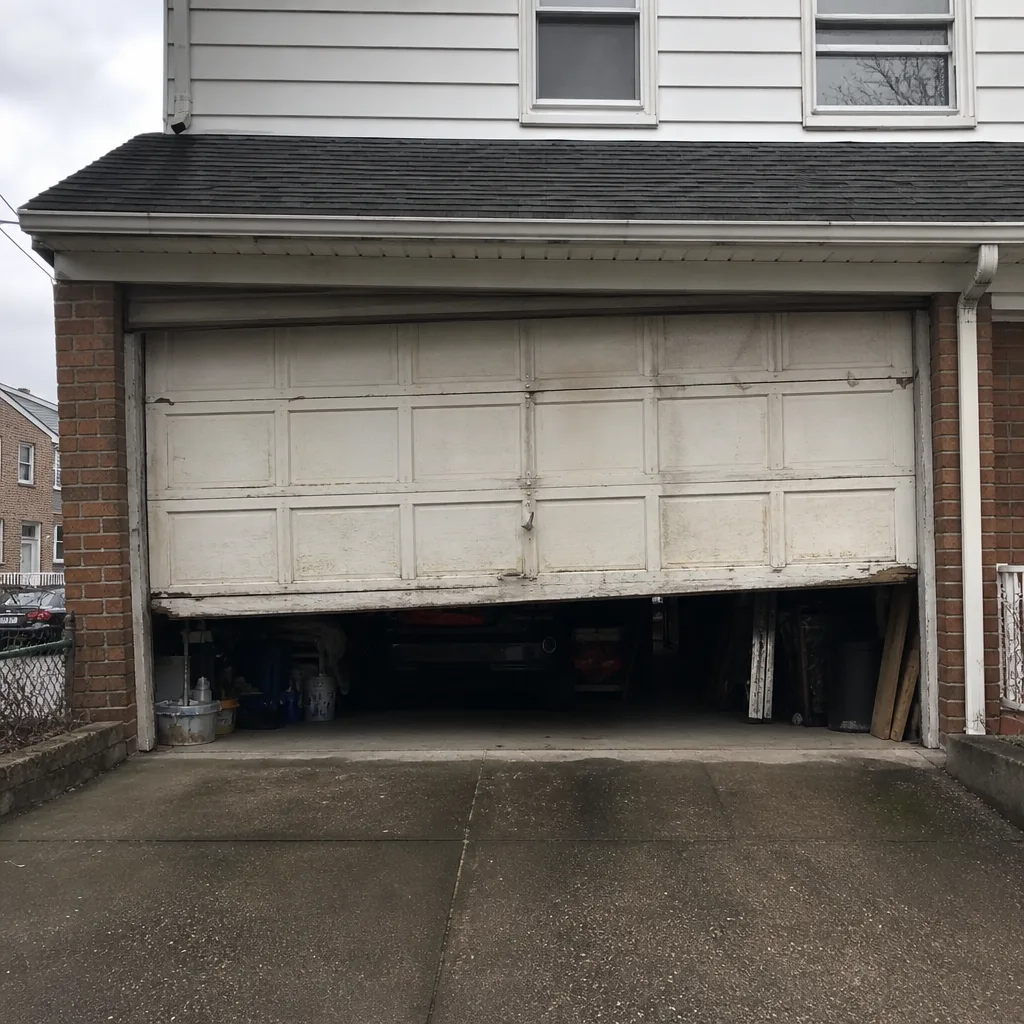 Before
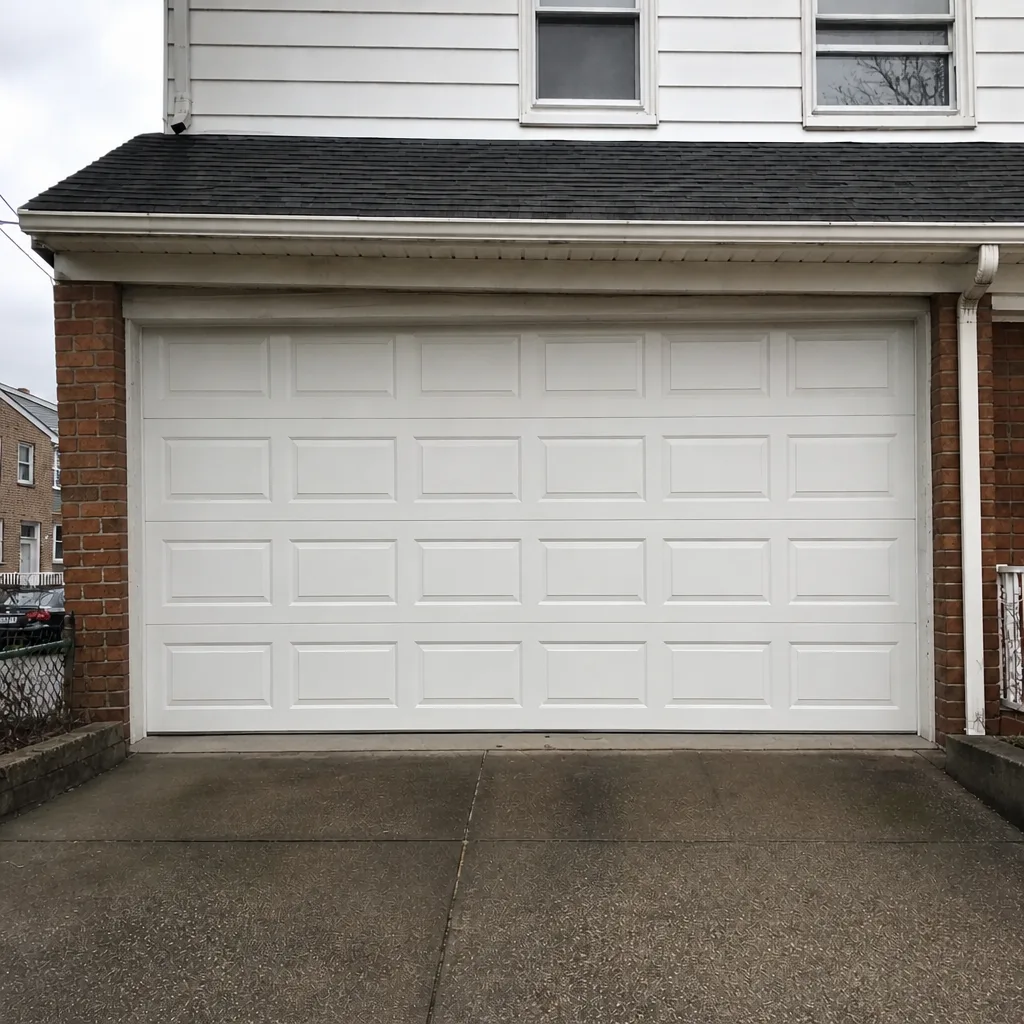 After
Common Mistakes to Avoid
- Buying the spring before the door is measured. Torsion springs come in matched lengths and wire sizes, and the wrong size can damage the door’s balance or shorten the new spring’s life. Measure first, then order.
- Using WD-40 as a garage door lubricant. It’s a solvent, not a long-term lubricant, and it can attract dust and gum up the works. Use a garage-door-rated silicone or lithium spray on hinges and rollers only. Springs get a light wipe of proper lubricant, but the torsion section should be left alone while under tension.
- Adjusting the open or close travel too far. On a Craftsman or Genie opener, pushing the travel limits past the door’s mechanical stop can bend the rail or damage the motor. Set it to the door’s actual travel, and recheck after a spring replacement.
- Replacing one torsion spring when the pair is a matched set. When one spring fails, the second is usually close behind. Replacing both at once costs less than two back-to-back visits and keeps the door balanced.
- Ignoring a slightly bent track. A bent track may seem minor until a roller jumps out and the door binds. Don’t hammer a track back into place – that stretches it, and it never returns to the right gap.
- Leaving the sensors dirty. In a Borough Park garage, dust and humidity can fog the sensor lenses more often than you’d expect. Wipe them a few times a year, especially after storm season.
- Doing a “quick fix” on a broken spring with clamps or cable ties. There’s no safe shortcut for a spring replacement. This isn’t a convenience measure; it’s a safety hazard for anyone who stands near the door.
Frequently Asked Questions
No. Torsion and extension springs are under extreme tension, and replacing one requires professional winding tools and technique. A spring that releases unexpectedly can cause serious injury in a fraction of a second. Call (888) 784-3292 for a spring repair estimate – estimates are free.
Spring repair is quoted per job after we see the door, and the written estimate is the price. The exact cost depends on the number of springs, the door’s size, and whether other parts need replacement. Call (888) 784-3292 and we’ll give you a written quote.
No. A door off its track is under spring tension from the cables, and any attempt to force it back into place can cause the door to drop or the spring to release. Call a professional. We answer 24/7 and offer fast dispatch from 7am to 7pm.
Yes. Most LiftMaster and Chamberlain openers have a “learn” button on the motor housing, and the remote pairs after you press it. Genie and Craftsman openers use similar procedures with different button names. It’s a safe DIY task. If your remote doesn’t pair or the opener doesn’t respond, call (888) 784-3292.
It can. Many door and opener manufacturers require professional service on certain components for warranty coverage, and self-installed springs or door panels can jeopardize that coverage. Check your manufacturer’s terms before starting, and call (888) 784-3292 if you want the work documented by a professional.
If the door won’t open or close smoothly, the spring is broken, the opener runs without moving the door, or the door has hit something and won’t shut evenly, call a professional. If the issue is a seal, a sensor, or a remote, you can handle it yourself. When in doubt, call (888) 784-3292 for a free estimate.
It can, especially in attached structures where a failed repair could damage a shared wall. Ask your insurer how they view homeowner-installed garage door components, and keep a record of any professional service. Call (888) 784-3292 for a written estimate.
The Bottom Line
The garage door question isn’t about whether you’re capable. It’s about which tasks carry physical risk and which don’t. Seals, sensors, remotes, lubrication, and visual inspections stay on your side of the line. Springs, cables, torsion work, panel replacement, and full replacements stay on ours. In Borough Park, where garages often share a wall with a neighboring home, the line is drawn a little more strictly than on a detached suburban lot. And if you’re not sure which side a task falls on, the cheapest move is a free estimate – call (888) 784-3292 and we’ll tell you straight.
Written by the team at Garage Door Repair Borough Park.